Search

Do you have any questions about something? Email us!
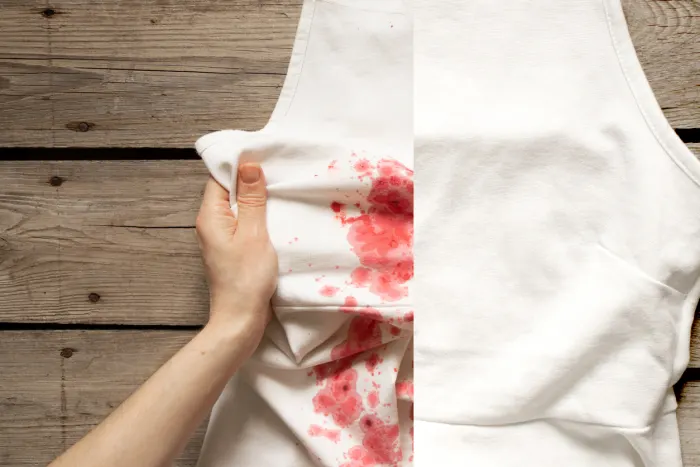
Een wit kledingstuk met bloedvlekken aan de linkerkant en een schoon gedeelte aan de rechterkant

Removing blood stains from clothing

This article provides a step-by-step guide to removing blood stains from clothing using hydrogen peroxide. The process involves immediately treating the stain with cold water, blotting the stain, and applying hydrogen peroxide to break down the blood. After blotting and rinsing the stain, the garment is washed with cold water and detergent. The article emphasizes the importance of acting quickly and provides tips for using hydrogen peroxide safely on different fabrics.
Een persoon giet paars zeepmengsel in siliconen zeepvormen.

Soap making, making your own soap

This article provides a step-by-step lab preparation for students to make their own soap using sodium hydroxide. It covers the materials needed, safety precautions, and the process of saponification, in which fats and oils react with a base to form soap. In addition to detailed explanations, sample lab questions and answers are also provided.
Een vintage petroleumkachel die kachelbrandstof gebruikt, geplaatst op een grijze vloer naast een houten tafel en stoel. De kachel is groen met metalen beschermroosters en staat op een metalen plaat.

Alternative Ways to Heat Your Home

Read about the different alternative ways to heat your home, such as solar energy, heat pumps, infrared heating and pellet stoves. Learn how these sustainable heating options work, their benefits, and tips for implementation. For traditional kerosene heaters, we discuss the use of odorless heater fuel to minimize odor nuisance. This article provides practical tips and insights to reduce your energy costs and reduce your carbon footprint with environmentally friendly heating solutions.
Een lachend meisje met roze bril speelt met roze slijm tijdens een wetenschappelijk experiment.

Make your own slime with Borax (practical preparation)

Making your own slime with borax and PVA glue is a fun and educational experiment. This manual provides a step-by-step explanation, including required materials, safety precautions and the scientific theory behind the process. The experiment demonstrates polymerization and crosslinking, where borax acts as a crosslinker and turns the glue into elastic slime. The clear instructions allow students to learn and have fun in a safe way. Additionally, we answer questions about the role of borax, the effects of different amounts, and the use of other types of glue, providing a better understanding of the chemical reactions.
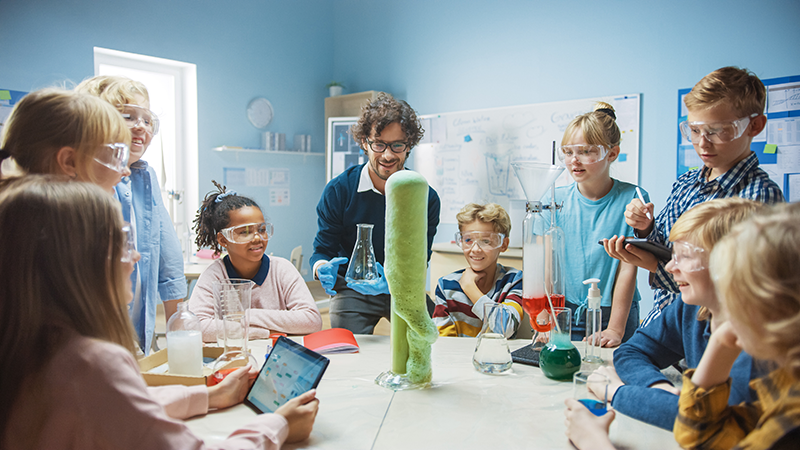
Kinderen dragen veiligheidsbrillen en kijken naar een demonstratie van het olifantentandpasta-experiment in een klaslokaal.

Making elephant toothpaste (practical preparation)

Making elephant toothpaste is a well-known and popular chemical experiment. In this experiment, an impressive amount of foam is produced by the decomposition of hydrogen peroxide. This experiment is not only fun to watch, but also educational, because it shows how catalysts work. This article discusses step-by-step how you can safely perform this experiment yourself with both 3% hydrogen peroxide and 12% hydrogen peroxide .

What do you need?

  • Hydrogen peroxide (H₂O₂) 3% or 12%
  • Liquid detergent, such as Dreft
  • Dry yeast (as catalyst)
  • Food coloring (optional)
  • Hot water
  • Large bottle or cylinder (e.g. an Erlenmeyer flask )
  • Tray or container to catch spills
  • Gloves and safety glasses
  • Measuring cups and spoon

Safety regulations⚠️

  • Always wear safety glasses and gloves when working with hydrogen peroxide.
  • Conduct the experiment outdoors or in a well-ventilated area
  • Take extra care when handling 12% hydrogen peroxide as it is more corrosive than 3%
  • Keep your distance when you initiate the experiment

Step-by-step guide to making elephant toothpaste

  1. Prepare your workplace
    • Ensure a clean and tidy workplace
    • Place a tray or bath under the bottle or cylinder to catch the foam
  2. Mix the ingredients
    • When using 3% hydrogen peroxide, pour approximately 100 ml into your bottle or cylinder. If you are using 12% hydrogen peroxide, pour approximately 50 ml into your bottle or cylinder.
    • Add a few drops of food coloring to the hydrogen peroxide to color the mixture.
    • Add 1 tablespoon of liquid dish soap to the hydrogen peroxide and mix gently by slightly rotating the bottle or cylinder.
  3. Prepare the catalyst solution
    • In a separate cup or bottle, dissolve 1 tablespoon of dry yeast in about 3 tablespoons of warm water. Then stir this mixture well until the yeast has completely dissolved.
  4. Start the reaction
    • QUICKLY but CAREFULLY pour the yeast solution into the bottle containing your hydrogen peroxide.
    • Immediately step back and observe the production of the elephant toothpaste
  5. Observations
    • Note what happens once the yeast solution is added to the hydrogen peroxide solution
    • Observe the amount of foam produced, the rate of the reaction and any changes in temperature (exothermic reaction).
  6. Tidy
    • After the reaction, discard the foam and solution residue according to your school or laboratory safety guidelines.
    • Clean all materials used thoroughly.

Theory for making elephant toothpaste

The decomposition of hydrogen peroxide by a catalyst such as enzymes in yeast results in the following reaction:

2 H 2 O 2 (aq) → 2 H 2 O (l) + O 2 (g)

The oxygen gas (O₂) formed is captured by the detergent, resulting in the production of foam. The reaction is exothermic, meaning heat is released.

Conclusion

This experiment shows how a catalyst accelerates the decomposition of hydrogen peroxide, resulting in spectacular foam production, better known as elephant toothpaste. It is a fun and educational way to learn more about chemical reactions and catalysts. Always perform the experiment with proper safety precautions and enjoy the impressive results!
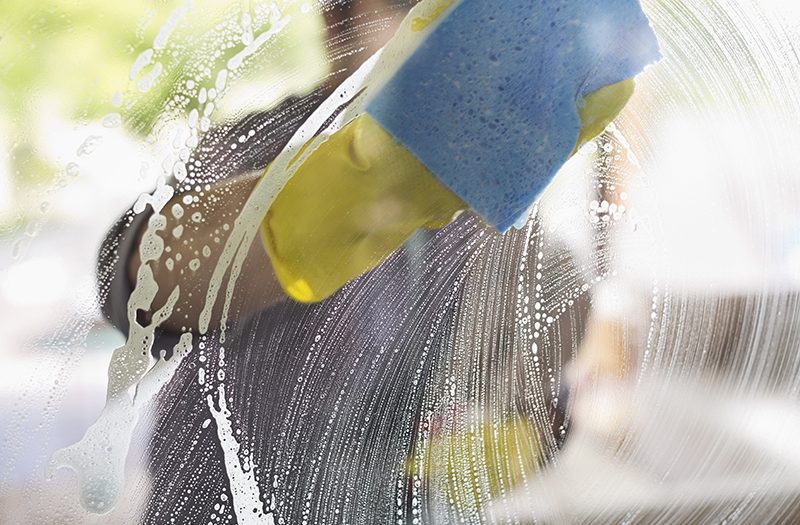
Een persoon wast een glazen venster met zeepachtig water en een blauwe spons, waarbij gele rubberen handschoenen worden gedragen.

Clean with Ammonia

This article provides a comprehensive guide to using ammonia as a cleaning agent safely and effectively. It explains how to make a cleaning solution by adding ammonia to hot water, emphasizes the importance of safety measures such as ventilation and protective clothing, and warns of the dangers of mixing ammonia with bleach, which produces toxic gases. Furthermore, the difference between ammonia (solution) and ammonia (gas) is explained, and the risks of ammonia gas are highlighted. The article is an essential resource for anyone looking to clean with ammonia safely.
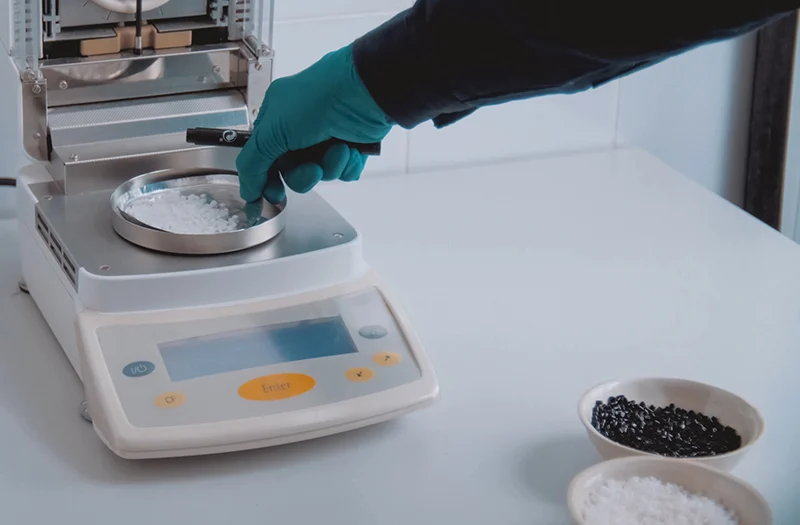
Persoon in laboratorium die een chemische stof afweegt op een digitale weegschaal voor het berekenen van de molariteit.

Calculate molarity – online calculator

Molarity is a measure of the concentration of a solute and is calculated by dividing the number of moles by the volume of the solution in liters. For an accurate calculation, knowledge of the number of moles and the exact volume of the solution is essential. Molarity is expressed in moles per liter (mol/L). This article provides a step-by-step guide to calculating molarity, including conversions from milliliters and centiliters to liters, and a handy online molarity calculator. The example shows that with 1 mole of substance dissolved in 1 liter of solution, the molarity is 1.00 mol/L.
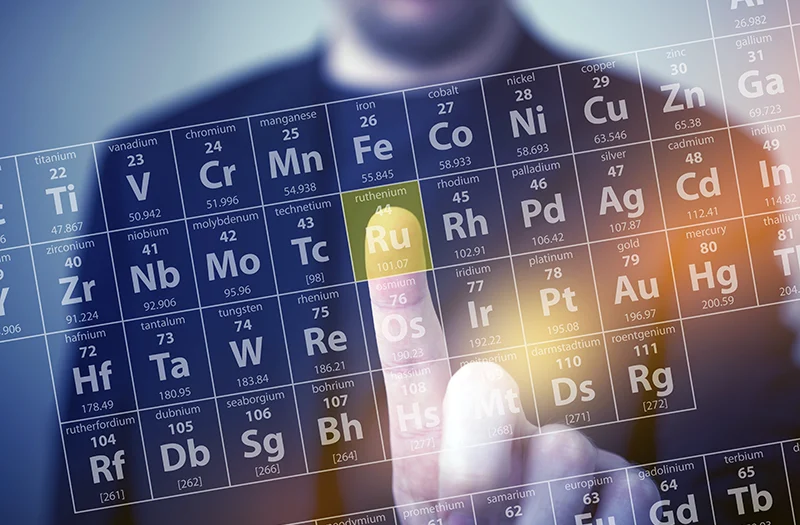
Persoon wijst naar het element Ruthenium in een interactieve weergave van het periodiek systeem der elementen.

Convert grams to moles calculator

The Mole is an essential unit in chemistry that bridges the gap between the microscopic world of atoms and molecules and our macroscopic reality. It represents 6.022×10^23 particles of a substance, based on the number of carbon atoms in 12 grams of pure carbon-12. The article explains step-by-step how to calculate the molecular mass of a substance, using sodium hydroxide as an example, and then how to convert this mass to Mole. With a molecular mass of 39.997 u for sodium hydroxide, it shows how 100 grams of this substance can be converted into 2.50 Mole. A handy Mole calculator is provided to facilitate these calculations, along with tips for performing these calculations and calculating the molarity of a solution.
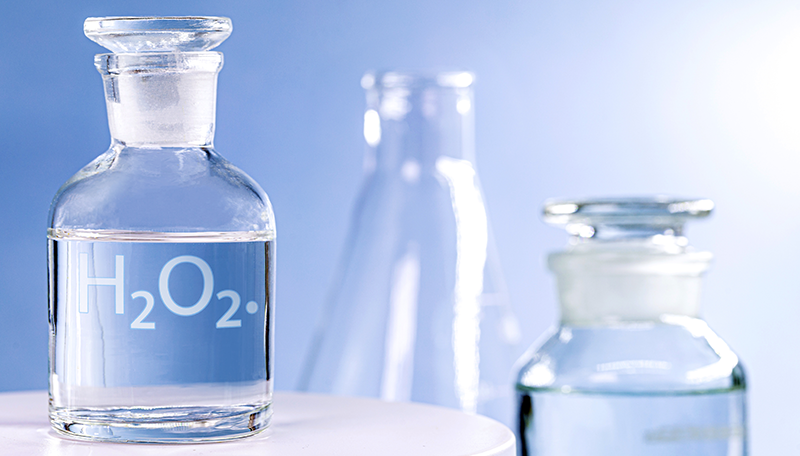
Glazen flesje met waterstofperoxide voor spoelen op een schone, witte ondergrond

Rinse with hydrogen peroxide

Hydrogen peroxide is an effective disinfectant that both kills bacteria and inhibits the growth of mold and yeast. It is used as a mouthwash to disinfect the mouth and throat and applied to the skin for cleaning wounds. This remedy is particularly useful for treating oral infections, such as gingivitis, and helps prevent plaque build-up. When used, hydrogen peroxide should be diluted for mouthwash and can be applied directly to wounds or with a sterile gauze pad. It is important to follow recommended guidelines for safe and effective use.
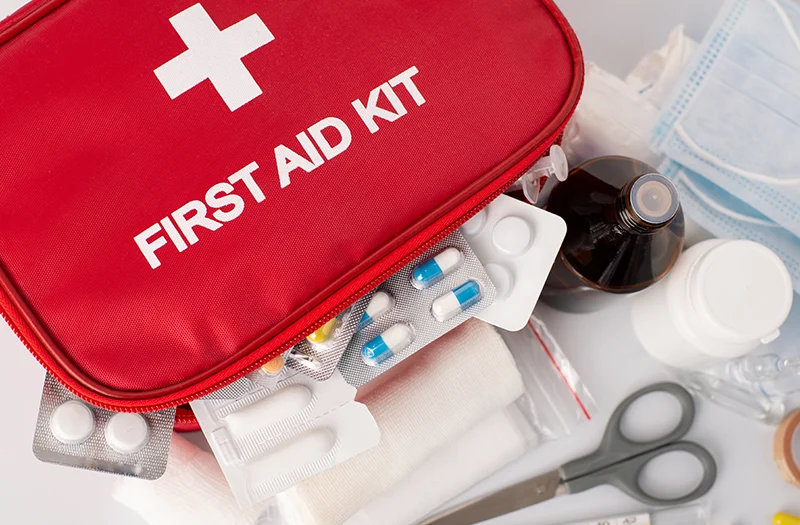
Open EHBO-kit met diverse inhoud zoals pleisters, verband, schaar, handschoenen, en antiseptische doekjes netjes gerangschikt.

What’s in a first aid kit?

A first aid kit is essential for providing first aid in case of accidents at home, at work, during travel or sporting activities. A basic first aid kit contains plasters, bandages, disinfectants, instruments such as scissors and tweezers, protective equipment such as gloves, and essential medications including painkillers and anti-allergy medications. It is important to personalize the kit to personal or specific needs and check it regularly for expired products. A well-equipped first aid kit, combined with knowledge of how to use it, can be crucial in emergency situations.
Back to Top
Product has been added to your cart