
Are you ready for an exciting adventure in the world of chemistry? In this lab, you will make a saponification product — ideal for gaining insight into the chemical reaction between fats and a base. Please note: this lab is for educational purposes only.
What is Saponification?
Saponification is a chemical process in which fats and oils react with a base, such as sodium hydroxide (NaOH), to form soap and glycerol. This process, which has been used for centuries, is the basis of much commercial soap production. Making your own soap not only gives you insight into this fascinating chemical reaction, but also a deeper understanding of the ingredients you use every day.
What do you need for soap making?
For this lab you will need some materials and chemicals. Most of the supplies are easily available. However, this does not mean it is safe, always make sure you follow the safety instructions.
Materials:
- Safety glasses
- Labcoat
- Gloves (rubber or nitrile)
- Heat resistant glass measuring cup (500ml)
- Stirring rod or spoon (stainless steel or heat-resistant plastic)
- Scale (accurate to 0.1 gram)
- Thermometer
- Silicone soap molds
- Covering material (plastic film or towel)
Chemicals:
- Sodium hydroxide (NaOH) – approx. 100 grams
- Demineralized water – 200 ml
- Vegetable oils (e.g. olive oil, coconut oil, palm oil) – total 500 grams
- Food coloring (optional)
Step by step guide to making your own soap
- Safety first
- Sodium hydroxide is a highly corrosive substance. Therefore, it is very important to take the proper safety precautions. Ensure a well-ventilated work area and always wear safety glasses, a lab coat and protective gloves.
- Weighing ingredients
- Carefully weigh 100 grams of sodium hydroxide and 500 grams of vegetable oils. Also measure 200 ml of demineralized water.
- Dissolve sodium hydroxide
- Slowly add the sodium hydroxide to the water while stirring constantly. This mixture will be hot, so be careful. Allow the mixture to cool to about 40-50°C.
- Heat the oils
- Heat the oils until they also reach a temperature of about 40-50°C. It is important that the temperatures of the oils and the sodium hydroxide solution are the same.
- Mixing and stirring
- Slowly pour the sodium hydroxide solution into the oils while stirring. Continue stirring until the mixture thickens and reaches the consistency of pudding (trace).
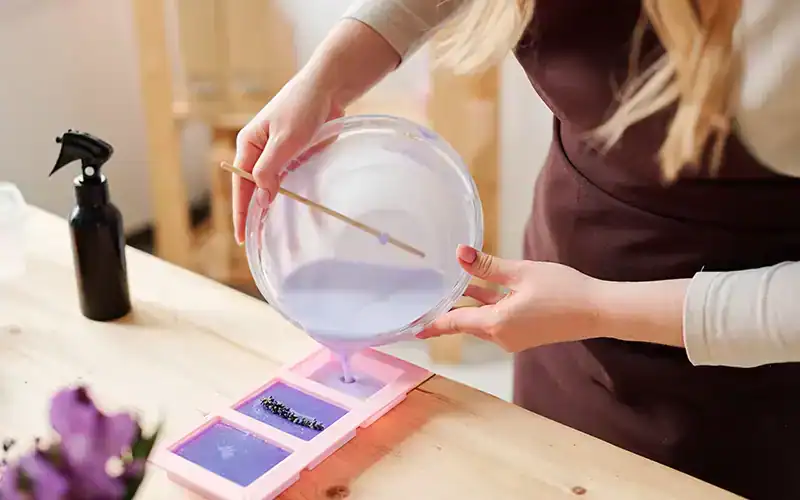
- Pour into the mold
- Pour the soap mixture into the silicone soap molds and cover to retain heat. Let the soap harden for 24 to 48 hours.
- Curing and maturing
- Remove the soap from the molds and let it mature in a cool, dry place for 4-6 weeks. This will cause the soap to harden and the pH to stabilize.
Practical questions and answers
- What is saponification?
- Saponification is a chemical process in which fats and oils react with a base such as sodium hydroxide (NaOH) to form soap and glycerol.
- Why is safety important in this practicum?
- Safety is crucial because sodium hydroxide is a caustic substance that can cause severe burns. Wearing safety glasses, a lab coat and gloves is essential to protect yourself.
- Why do the temperatures of the oils and the sodium hydroxide solution have to be the same?
- It is important that both mixtures have the same temperature (approximately 40-50°C) to ensure an even reaction and reduce the risk of separation or lumps.
- What is ‘trace’ and why is it important?
- ‘Trace’ is the point at which the soap mixture thickens and takes on the consistency of pudding. This indicates that the oils and sodium hydroxide are fully mixed and saponification is well underway.
- How long should the soap mature and why?
- The soap should be aged for 4-6 weeks in a cool, dry place. This process, known as “curing”, causes the soap to harden and stabilize its pH, making it safe and effective to use.
Conclusion
Making your own soap is an engaging and educational chemistry project that introduces students to saponification in a hands-on way. By carefully following the steps and observing safety precautions, students can not only enjoy the learning process but also take pride in the final product.
This saponification lab provides a great introduction to chemical processes such as saponification. By working carefully and adhering to safety regulations, a demonstration product is created that provides insight into the basic principles of organic chemistry. Good luck and have fun with your project!