
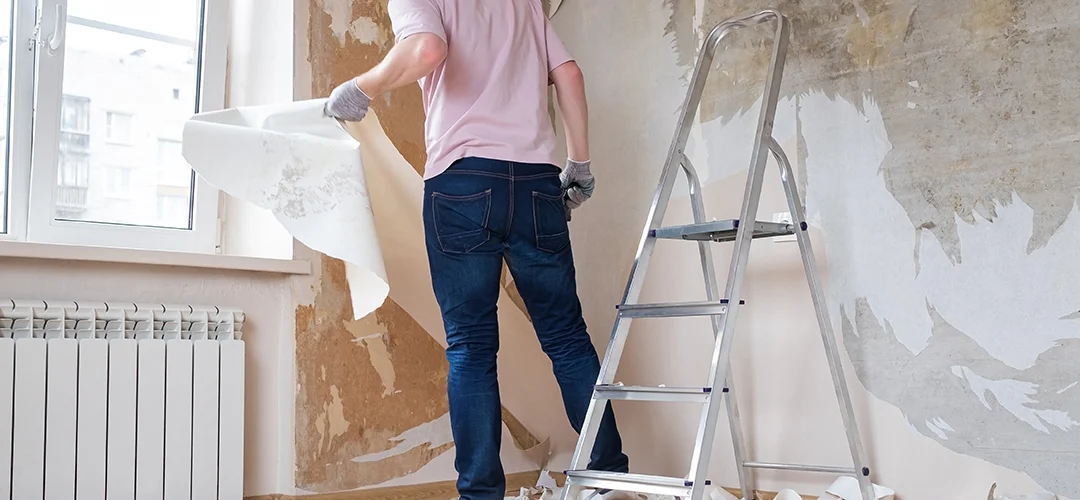
Removing old wallpaper from a wall is a job that many DIYers face sooner or later. Whether you want to give a room a fresh new look or are dealing with damaged wallpaper, you want to loosen the old wallpaper and make the wall clean and smooth again. In this article, we explore why it’s wise to remove old wallpaper, the problems you might encounter, and the best approach. We provide a practical step-by-step plan with helpful tips, discuss different surfaces (such as drywall, concrete, plaster), and compare methods such as soaking with a wallpaper remover, using a steam cleaner, or dry scraping. We also mention common mistakes and offer solutions. Finally, you’ll find a list of frequently asked questions about wallpaper removal, including short, factual answers.
Why it’s wise to remove old wallpaper
You usually remove old wallpaper to renovate a room or prepare it for new wallpaper or paint. Old wallpaper can be discolored, worn, or simply outdated. Furthermore, wallpaper that’s been on the wall for years can become loose, bubble, or damaged. This can happen, for example, due to water damage. Removing such old wallpaper is then necessary to inspect the underlying wall for mold or moisture stains and to ensure proper adhesion of a new finish.
Sometimes you might consider applying new wallpaper over old wallpaper, but that rarely leads to a good result. There may be irregularities (bubbles or cracks) in the old layer that will then become visible again. Professionals recommend removing the old wallpaper first for a nice, even finish.
Removing wallpaper from plasterboard, concrete and plasterwork
Wallpaper can adhere to the wall like a second skin. This is due to a combination of factors such as a strong wallpaper adhesive, a water-repellent topcoat, multiple layers of paint, and the surface the wallpaper is applied to. The right approach varies depending on the surface. Below, we discuss how to safely and effectively remove old wallpaper for each wall type.
Removing wallpaper from plasterboard (drywall)
Drywall is fragile. The cardboard top layer the wallpaper is attached to can easily be damaged by excessive moisture or excessively deep scraping. Follow these steps carefully:
Step-by-step plan for plasterboard:
- Prepare the room : Cover electrical outlets and the floor properly, remove any switching equipment.
- Test wallpaper for looseness : Gently pull on a corner. If it comes loose, you can work dry.
- Moisten (without soaking) : Use a plant sprayer or slightly damp sponge with lukewarm water (possibly with a softener). Moisten one section at a time.
- Allow to soak in : Allow the moisture to soak in for a few minutes, but prevent the water from seeping into the plate.
- Carefully scrape : Use a putty knife or wallpaper spatula with a flat edge. Scrape gently, working in layers if necessary.
- Removing glue residue : Work with a damp sponge, not too wet, and dry afterwards.
- Repairing damage : Fill any damage afterwards with wall filler and sand it smooth.
⚠️ Note: Do not use a steam cleaner on drywall. This increases the risk of loosening the cardboard layers.
Removing wallpaper from a concrete or brick wall
Concrete is much more robust than plaster and can withstand more moisture. This gives you more flexibility in terms of strength and support.
Step-by-step plan for concrete or stone:
- Prepare space as above.
- If necessary, cut or perforate the wallpaper for vinyl or painted wallpaper to allow moisture to penetrate better.
- Wet the wallpaper thoroughly : Use a sponge or pressure sprayer with lukewarm water and detergent.
- Let it soak in : Wait at least 10–15 minutes per section.
- Scraping : Use a putty knife or chisel. You can apply a little more pressure here.
- Using steam (optional): A steam cleaner works very effectively on stubborn wallpaper.
- Check the surface : Check for loose old plaster under the wallpaper.
- Cleaning and repair : Remove adhesive residue with water and a sponge. Touch up plaster if necessary.
Concrete absorbs some water. Therefore, work on each section individually and prevent it from drying out before scraping.
Removing wallpaper from plasterwork (plaster layer)
Plaster is less sensitive than drywall, but not as strong as concrete. You should avoid damaging brittle or loose areas.
Step-by-step plan for plasterwork:
- Cover the floor and edges to prevent moisture spots or damage.
- Dampen wallpaper with a sponge or softening spray. With decorative plaster, only touch the top layer.
- Allow it to work as with the other methods. Don’t soak it; it’s better to moisten it twice than to soak it once.
- Carefully scrape off with a putty knife, especially if the plaster is old or cracked.
- Remove any adhesive residue with water and a sponge. Do not sand while the wall is damp.
- Repair damage : Re-fill loose areas with wall filler or repair plaster if necessary.
🔧 Tip: Don’t use a wire brush or harsh abrasives on plaster. They can quickly cause permanent damage.
In short: depending on the substrate, you should adjust the soaking time and choice of tools to prevent damage. Plasterboard requires the most careful approach (little water, no steam, a flat knife), concrete and cement can withstand more, and plaster somewhere in between, with caution in weak spots.
Which method do you choose: soaking, steaming, or dry removal?
Depending on the type of wallpaper and the surface, you can choose between three methods: soaking off the wallpaper with water (and possibly a wallpaper remover), using a steamer, or dry removal by carefully scraping. Each of these methods has its advantages and disadvantages. Soaking is suitable for standard paper wallpaper, steaming is useful for painted-over or vinyl wallpaper, and dry removal only works if the wallpaper is already peeling or not properly adhered. Choose the method that suits the surface and the type of wallpaper, and always test it on a small section of wall first.
Not sure which method works best for your situation? This overview of wallpaper removal methods explains what you need for each technique, what to watch out for, and when it works. This way, you can prevent unnecessary damage and choose an approach that suits your wall and type of wallpaper.